The First Resin River Pour
What could possibly go wrong?
After watching countless Instagram videos at 2am showing resin getting poured over huge slabs of wood, I decided it was time to give it a go. I had watched a handful of videos describing the process and developed a plan that was in my budget and seemed feasible with the tools I owned.
The first consideration for me was that deep pour epoxy resin is pricey (about $100/gallon). For that reason, I wanted my first pour to be on the small side so that if the foam sprang a leak, I messed up the mixing ratio, or the temperature of my shop was not right, I wouldn’t be throwing away too much money.
The slab in the center was the piece for this first pour.
I ended up selecting a live edge slab of hickory that was relatively simple in edge profile, was reasonably flat and didn’t have many imperfections. As it turns out, much of the effort with resin rivers is leveling the slab once the pour is cured so the better your starting point, the easier the finish.
First step was the strip and chisel the bark off of the slab and sand the edges to be sure the pieces would sit well in the form and the epoxy would form a strong bond with the wood. While it is tempting to leave the bark on since it looks so cool, odds are over time the bark will peel away and if the epoxy is only bonded to the bark, you run the risk of causing a big crack or split in the finished piece.
Next step was to cut the slab down the middle and start approximating the dimensions of the final piece that will dictate the dimensions of the form. I picked an arbitrary width to my resin river that I thought looked good (it’s a balancing act between visual appeal and the volume of resin needed to fill the river). From there, it was time to set up the form.
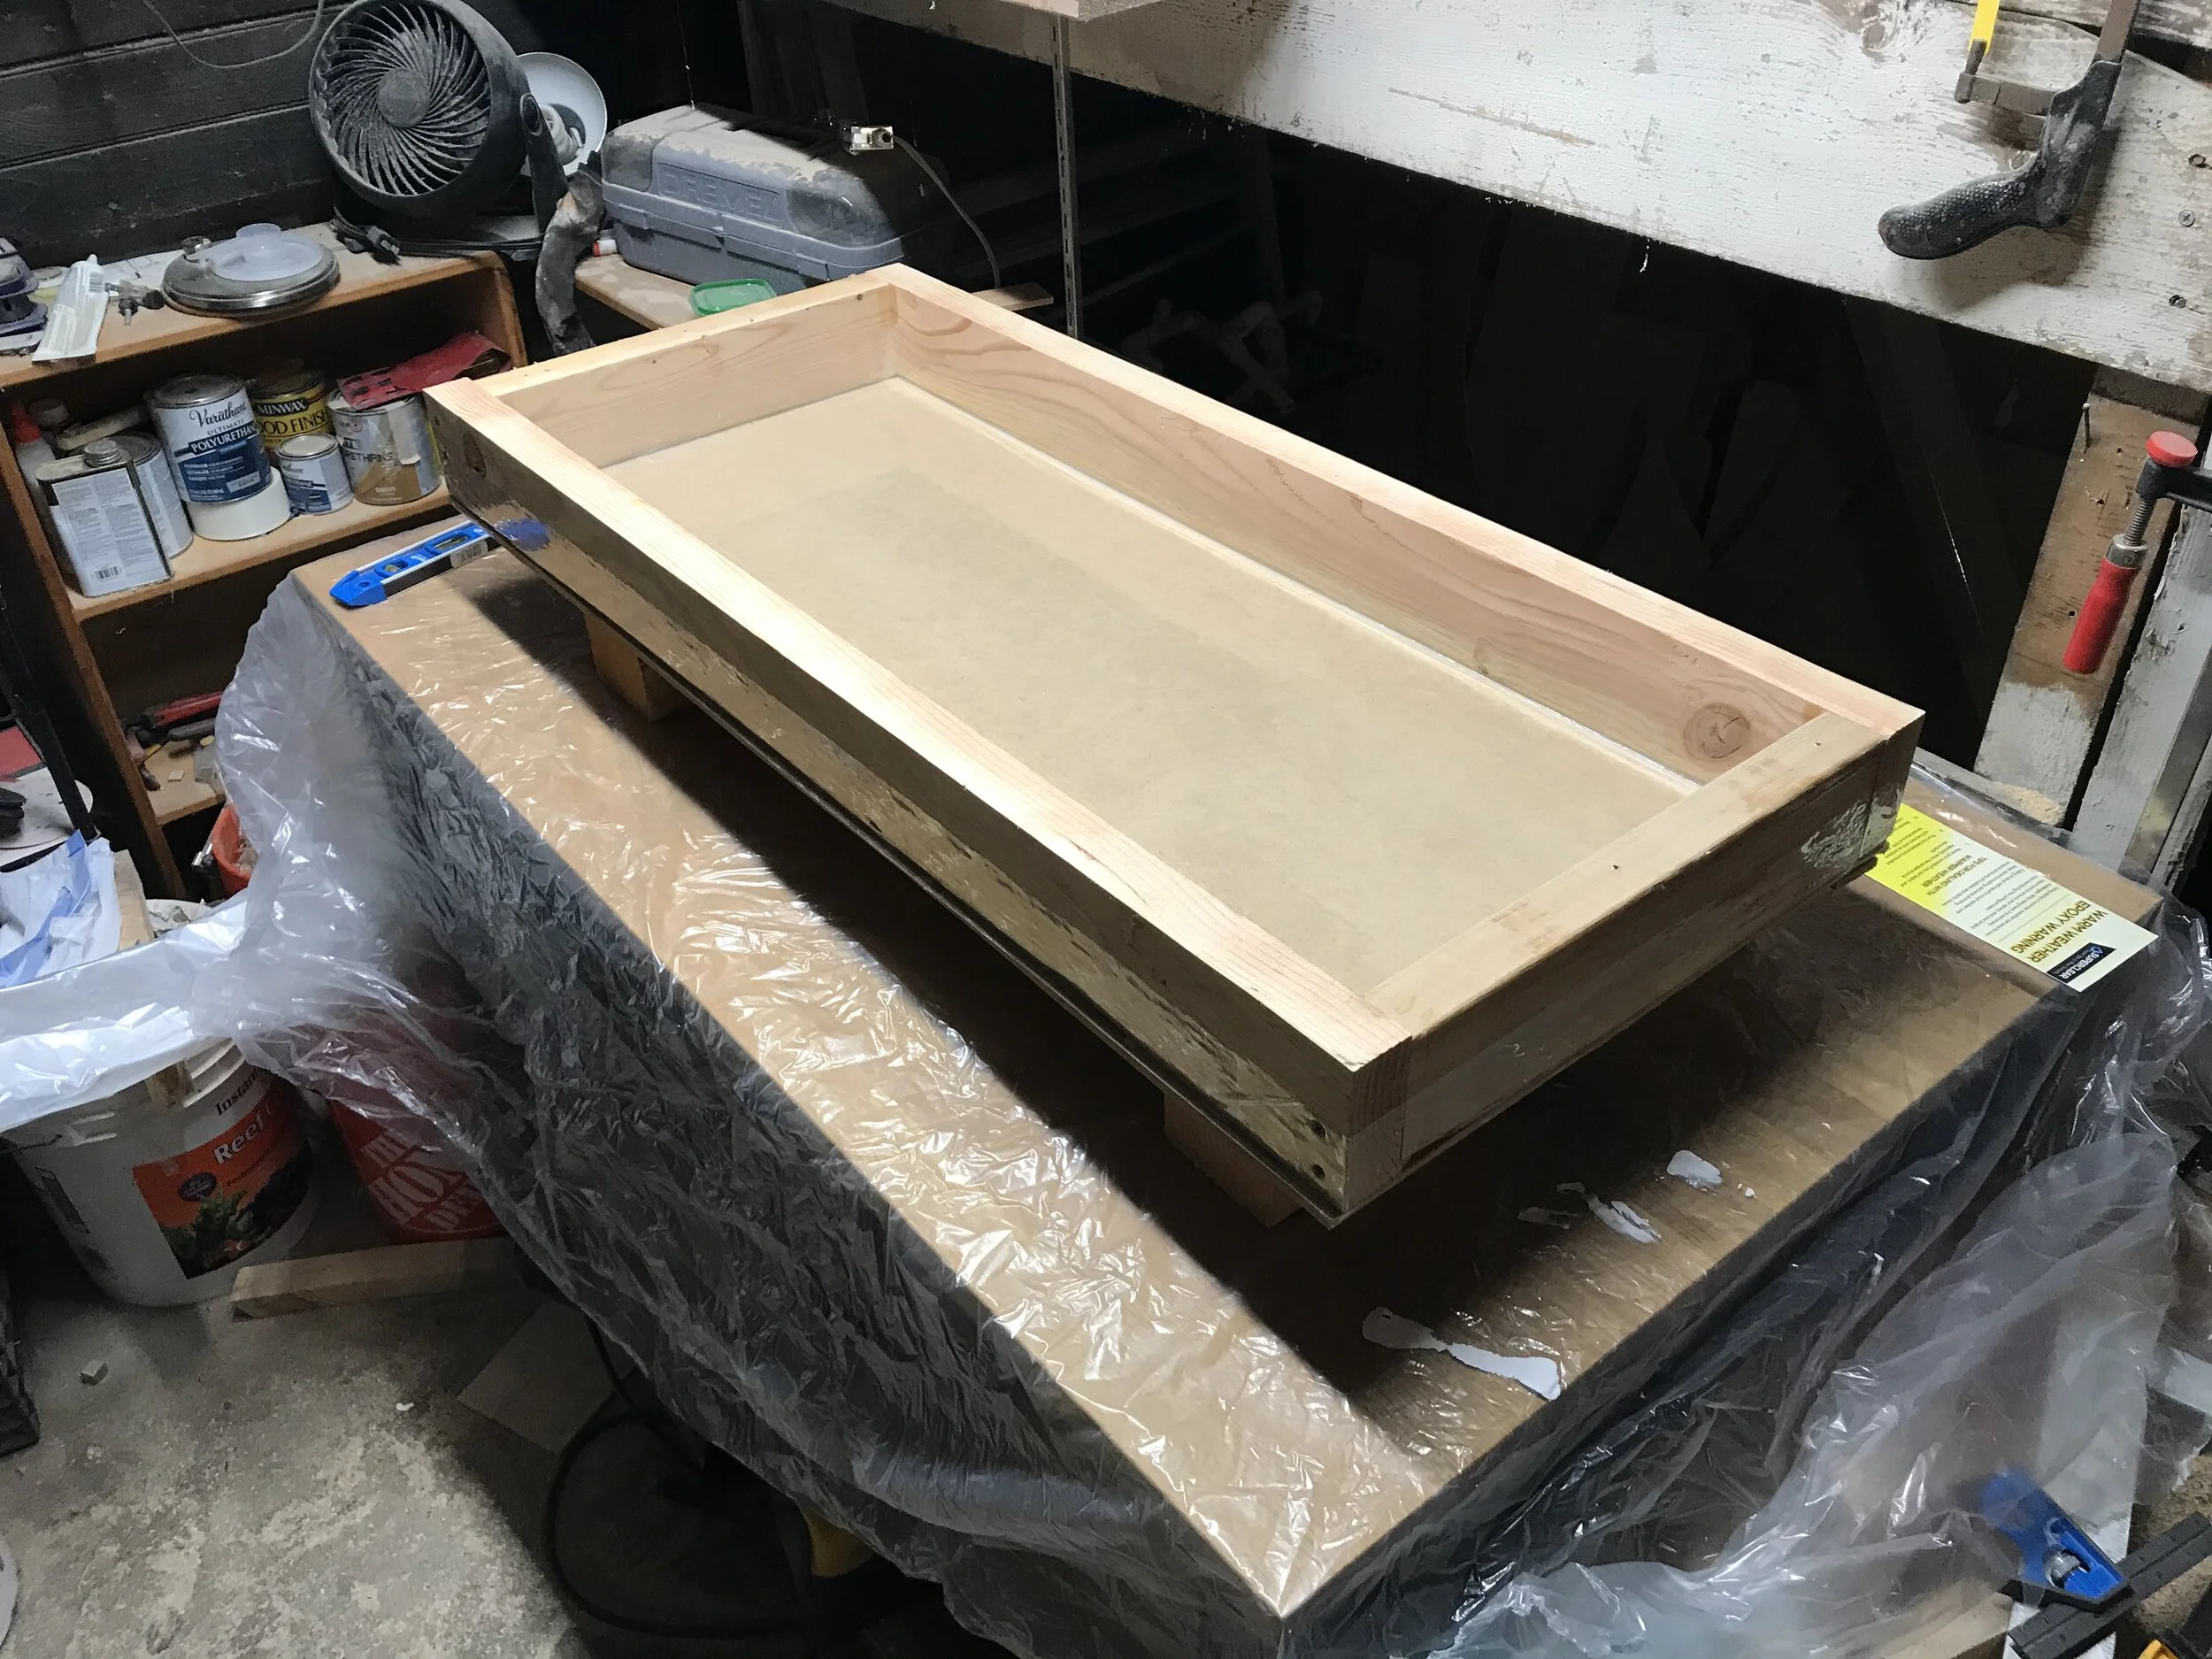
There are many ways to build the form, including premade ones that are reusable and save time on the front end. I’m cheap and wanted to put more money into the resin than the set up so I elected to go as cost-effective as I could while not risking success. I went with MDF for my bottom board and 2x4’s for the rails. To keep the epoxy form binding to the form, you can build it with melamine or other products that inherently prevent the bond, or you can use wood and MDF like this, then wrap the surfaces in packing tap or tuck tap. That’s what I did and to ensure the form is water-tight, I used silicone on the seems of the form and let it cure overnight. After that it was time to prep the slab by brushing a thin layer of epoxy on the live edges and a bead of silicon un the underside to prevent resin unnecessarily leaking beyond the river to the edges of the form.
From there, I elevated the form on blocks and shimmed them to ensure a level pour, then clamped the live edge slabs in place. I let the silicone under the slab cure again over night and the following day it was POUR DAY! I used a “resin river calculator” you can find on several websites online to approximate the total volume of resin I would need. I use Super Clear Liquid Glass Deep Pour Epoxy which mixes two parts in a 2:1 ratio. For pigment, I went with Eye Candy Pigments “Carolina Blue” powder which is a really cool blue with lighter silver and dark navy swirls.
After the resin went in - I double checked the slab was level, used a butane torch to pop any bubbles migrating up to the surface, and sat back hoping nothing leaked over the next 3-4 days while the resin cured! Stay tuned for another post about how to finish the slab after everything has cured.


